
You use welding gloves to protect your hands from welding heat, sparks, molten-metal spatter, and abrasion while preserving enough control to handle your equipment safely. For MIG and stick work, start with insulated leather designs; for precision TIG work, choose supple leather with the thermal protection your task requires.
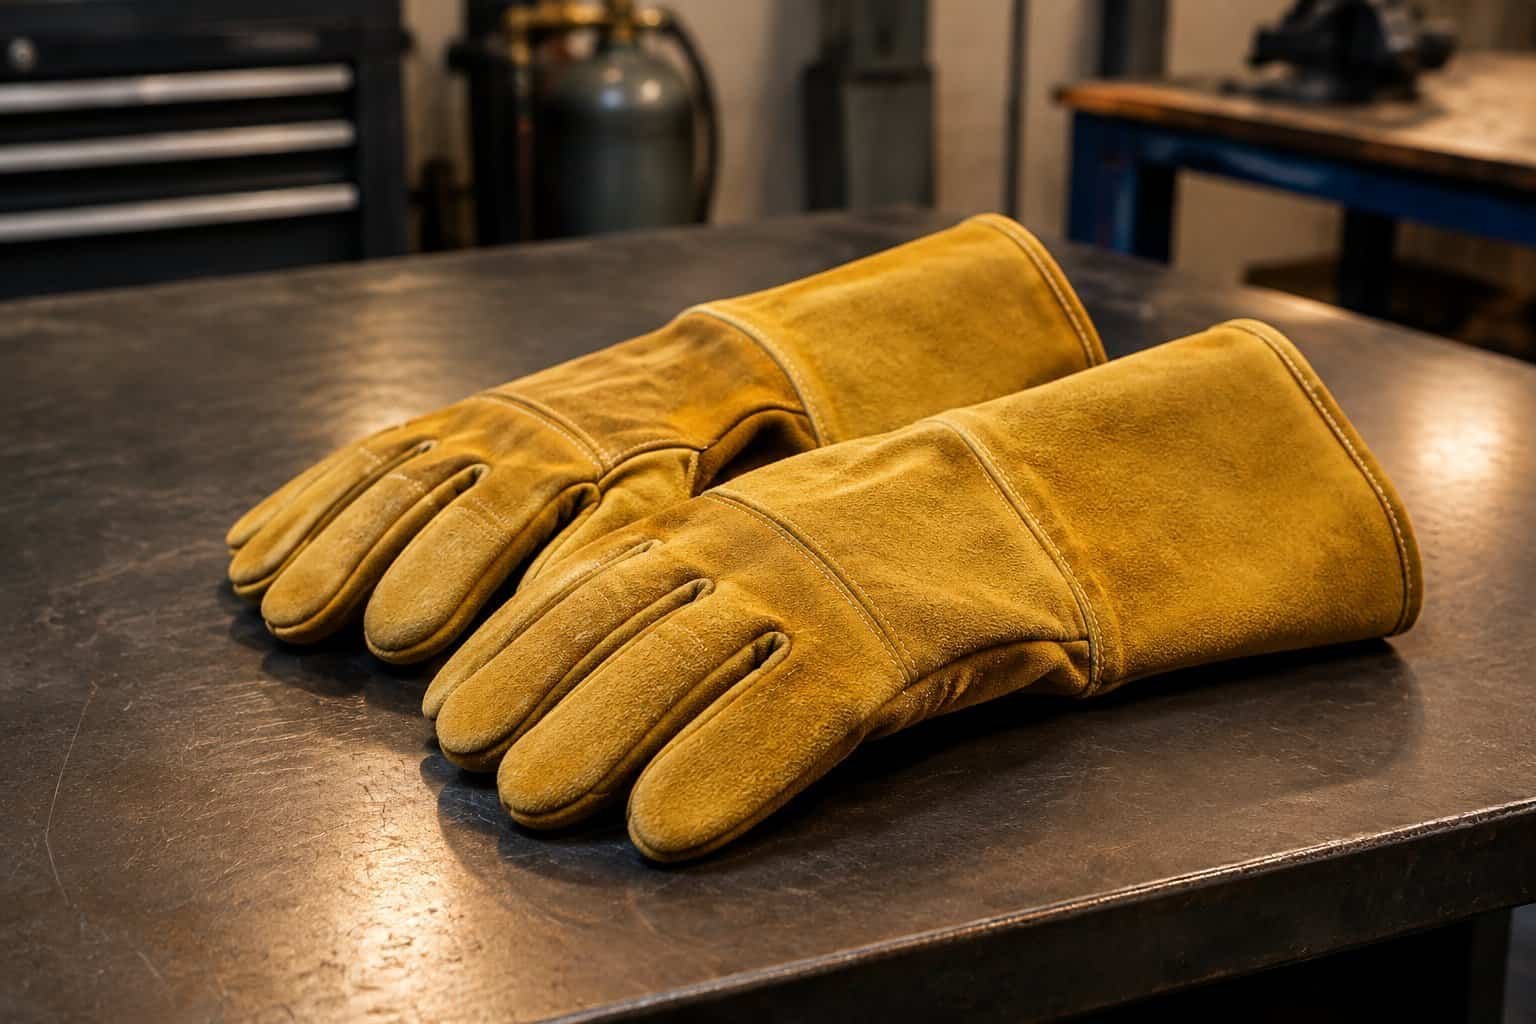
Your gloves also need to work with your protective sleeves and jacket. A gap at your wrist leaves skin exposed even when your palms have substantial insulation.
Keep their protection limits clear: ordinary leather gloves do not qualify as voltage-rated electrical PPE or chemical barriers. Include suitable hand protection in your complete welding PPE selection, alongside eye and face protection and other equipment required by your workplace hazard assessment.
What Materials and Construction Features Matter?
Your glove’s protection comes from its complete construction: leather, insulation, stitching, reinforcement, and cuff coverage. Evaluate those features together because leather type alone does not establish thermal performance.
Leather Types and Their Protective Properties
You will encounter cowhide, goatskin, pigskin, deerskin, and elkskin in welding gloves. Cowhide is common in durable fabrication gloves, while supple goatskin supports the fingertip control you need for feeding TIG filler rod.
Split leather has a suede-like surface and appears frequently in heavy-duty designs. Grain leather retains the hide’s outer surface and suits flexible glove patterns, although thickness and construction still affect how either material performs.
When you assess materials for welding gear, separate material characteristics from finished-product performance. Ask for documentation covering the exact glove model, including its lining and reinforced areas.
Linings, Seams, and Reinforcement
Your lining adds insulation and changes the space available inside the glove. Cotton, fleece, and specialized heat-resistant textiles serve different construction needs; thin or unlined TIG designs emphasize touch sensitivity.
Check how the lining sits around your fingertips. Bunched material interferes with control, while compressed or damaged insulation creates uneven protection.
Inspect seam placement around your palm and thumb saddle, where repeated gripping causes wear. Heat-resistant thread, including aramid thread, appears in some designs, but you should verify the manufacturer’s specifications. Reinforced palms and finger patches add durability while increasing bulk.
Cuff Design and Wrist Coverage
Your cuff should cover the wrist and maintain protective overlap with your sleeve throughout normal movement. A longer gauntlet extends coverage along your forearm, which is useful when falling spatter reaches beyond the hand.
Check cuff shape as well as length. An opening that catches debris creates a different problem from a cuff that restricts wrist movement.
Pair your gloves with a properly fitted welding jacket. Test the interface while reaching forward and bending your elbows, with your equipment switched off.
How Do MIG, TIG, and Stick Gloves Compare?
Your starting choice is an insulated glove for MIG or stick welding and a more dexterous glove for precision TIG work. Adjust that choice for actual heat exposure, welding position, and the time your hands spend near the arc.
| Selection factor | MIG gloves | TIG gloves | Stick gloves |
|---|---|---|---|
| Main priority | Heat-control balance | Fingertip precision | Heat and spatter protection |
| Common construction | Lined leather | Supple, lighter leather | Heavier insulated leather |
| Working control | Gun trigger and grip | Torch and filler rod | Electrode-holder grip |
| Main trade-off | Insulation adds bulk | Thin layers transmit heat faster | Heavy construction limits feel |
| Coverage focus | Wrist and sleeve overlap | Coverage with free movement | Extended gauntlet coverage |
MIG Welding Gloves: Balancing Heat Protection and Control
For MIG welding, or gas metal arc welding (GMAW), you operate a gun that feeds a continuous consumable wire electrode under shielding gas. Your glove needs enough flexibility to operate the trigger and maintain a stable grip.
Look for insulation appropriate to your heat exposure, with reinforcement where the gun rests against your hand. Excess palm bulk makes a secure grip harder to maintain over a long weld.
Your operating conditions still control selection. Short-circuit transfer on thin sheet presents different demands from sustained high-current spray transfer, and flux-cored arc welding requires its own exposure assessment.
TIG Welding Gloves: Prioritizing Dexterity and Precision
For TIG welding, or gas tungsten arc welding (GTAW), you control an arc formed by a nonconsumable tungsten electrode under inert shielding gas. When you add filler metal manually, your other hand needs precise rod-feeding control.
Choose a close-fitting design that lets you feel the rod without excessive material folding around your fingertips. TIG gloves include unlined and lightly lined constructions; a particular closure or thread type is not universal.
Account for radiant heat and nearby hot surfaces even when spatter is limited. High-current welding or work on preheated components calls for additional thermal protection compatible with your required control.
Stick Welding Gloves: Managing Heat and Spatter
For stick welding, or shielded metal arc welding (SMAW), you use a consumable flux-coated electrode. Select robust insulation and coverage suited to sparks, spatter, and hot slag.
Pay particular attention to the glove back, fingertips, and cuff when your welding position exposes them to falling material. Reinforcement should protect high-wear areas while allowing you to grip the electrode holder securely.
Use tools to move hot stock and remove slag. Your welding glove’s heat resistance does not establish safe continuous handling of hot metal.
How Do You Select the Right Fit and Verified Protection?
Select your gloves through a task-specific hazard assessment, then confirm fit and documented performance for the exact model. Check each claimed protection separately, including thermal exposure and mechanical hazards.
Sizing, Finger Mobility, and Grip
Measure both hands around the palm across the knuckles, excluding your thumb, and measure hand length as directed by the manufacturer. Compare your measurements with the model-specific size chart.
With the equipment de-energized, check your working movements:
- Close your hand without tightness across the knuckles.
- Move your thumb through its working range.
- Hold your torch or electrode holder without the glove rotating.
- Check that excess fingertip material does not fold into your grip.
If your hand feels compressed or the lining bunches, try another size or pattern. Avoid relying on stretching during use to correct a restrictive fit.
Coordinating Wrist Coverage with Protective Sleeves
Maintain continuous wrist coverage while reaching, rotating your hands, and changing torch angles. Arrange the cuff and sleeve interface to shed sparks, following the garment and glove manufacturers’ instructions.
Your long-sleeved protective clothing also needs sufficient reach through the shoulders and arms. A sleeve that pulls back during work exposes the wrist despite a comfortable standing fit.
Check your underlying clothing for materials unsuitable for welding, including melt-prone garments. Keep loose fabric and openings away from paths where spatter collects.
Understanding EN 12477, EN 407, and EN 388
Use European markings as documented performance information when they appear on gloves supplied for your workplace. In the United States, your employer still needs to select protection appropriate to the identified hazards.
Read the standards by their distinct scopes:
- EN 12477: Protective gloves for welders. Type A has higher minimum requirements for several protective properties; Type B requires greater dexterity with lower minimum protection requirements in several areas.
- EN 407: Thermal risks from heat and/or fire. Its performance categories address burning behavior, contact heat, convective heat, radiant heat, and molten-metal exposure.
- EN 388: Mechanical risks, including abrasion, cutting, tearing, and puncture, with additional markings where applicable.
Request the applicable edition, declaration of conformity, and performance information for your exact model. An “X” indicates that a performance level is unavailable for that test; it provides no positive protection claim.
Keep glove standards separate from garment standards. When selecting flame-resistant clothing for welding, you assess garment suitability separately; an EN ISO 11611 clothing claim does not verify glove performance.
Why Cut Resistance Alone Is Not Enough
Your cut rating addresses a defined mechanical test. It does not establish resistance to flame, welding spatter, or heat transfer.
For sharp-sheet handling between welds, choose documented cut protection appropriate to the edges involved. Before welding resumes, confirm that your hand protection also suits the hot-work exposure.
Treat chemical cleanup as another separate operation requiring chemical-specific compatibility information. Follow machine procedures around rotating equipment, where gloves introduce an entanglement hazard.
How Should You Inspect and Maintain Your Gloves?
Inspect your gloves before use and follow the exact manufacturer’s cleaning and storage instructions. Remove them from service whenever damage, contamination, or changed performance compromises their suitability.
Checking for Damage, Contamination, and Lost Protection
Examine your palms, fingertips, thumb saddles, seams, and cuffs under good light. Flex the leather gently to reveal cracks and openings hidden in folds.
Check inside for displaced insulation or embedded debris. Hardened areas, thinning leather, and scorched patches require attention even when you cannot see a complete hole.
Remove oil-, fuel-, grease-, or solvent-contaminated gloves from hot-work service. Follow your workplace’s decontamination or disposal procedure; surface wiping does not establish that absorbed contamination has been removed.
Following Manufacturer-Specific Cleaning Instructions
Start your glove-cleaning routine by checking the care label for the exact model. Many leather constructions require dry care or limited spot cleaning.
Use a clean, soft brush for loose debris when the instructions permit it. Add water or a cleaning product only when the manufacturer approves that method.
Avoid applying saddle soap, conditioner, bleach, or solvent without approval. Keep glove care separate from laundering flame-retardant garments, because different PPE components require different treatment.
Drying and Storing Gloves Safely
Air-dry your gloves with natural ventilation, away from direct heat and sunlight, following the care instructions. Keep them clear of radiators, hot workpieces, torches, and clothes dryers.
Check the lining as well as the outer leather before reuse. Your gloves need to be fully dry; moisture changes heat transfer and increases electrical risk during welding.
Store the dry pair in a clean location away from chemicals and sharp scrap. Keep the cuffs open enough for airflow without stretching their shape.
When to Retire a Damaged or Underperforming Pair
Retire your gloves when holes, failed seams, worn-through areas, damaged insulation, or irrecoverable contamination affect protection. Replace a pair that no longer lets you maintain a secure working grip.
Stop work if you notice unexpected heat transfer or a sudden change in flexibility. Assess the glove’s condition and whether its original protection level remains suitable for the task.
Use condition and manufacturer guidance to determine replacement. Your welding process and exposure history determine wear, so a fixed calendar interval cannot establish continued serviceability.
Match Your Gloves to the Welding Task
Choose your gloves around the welding process and documented exposure: dexterity for precision TIG, balanced insulation for MIG, and robust heat and spatter protection for stick work. Confirm the choice against your welding position and actual working duration.
Before striking an arc, repeat the practical checks:
- Verify the exact model’s relevant performance claims.
- Grip your equipment and check finger movement.
- Confirm continuous cuff-to-sleeve coverage.
- Inspect for damage, moisture, and contamination.
Keep a serviceable replacement pair available. If inspection reveals compromised protection, change gloves before resuming hot work.
Frequently Asked Questions
Choose your hand protection using the process requirements and care instructions for the specific glove model. These answers address common selection and maintenance questions.
What are welding gloves, and do you really need them?
You use welding gloves as protective handwear against welding heat, sparks, spatter, and mechanical wear. You need suitable hand protection when welding, together with the other PPE required for your task.
What are welding gloves made of?
Your gloves are commonly made from leather such as cowhide or goatskin, with construction selected for the intended work. Depending on the design, you will also find textile insulation, heat-resistant stitching, and reinforcement patches.
What are MIG welding gloves called?
You will see them sold as MIG welding gloves or GMAW gloves. Some carry combined MIG/stick descriptions, so check the exact model’s intended applications and documented protection.
What type of gloves are best for welding?
For precision TIG work, choose flexible gloves that support filler-rod control; for MIG and stick work, start with appropriately insulated leather designs. Your final choice needs verified protection for the actual heat and spatter exposure.
How do you maintain leather welding gloves?
Inspect your gloves before use, remove loose debris as permitted, and follow the manufacturer’s specific cleaning instructions. Air-dry them away from heat, store them clean and dry, and retire them when damage or contamination compromises protection.